The Sony MZ-R2 was released in late 1993 and is a large, substantial MiniDisc recorder, similar in size to the Sharp MD-MS200 which came later. It's hefty, with a built-in display, and a slick slide-open control door on the top lid that has a satisfying "click" to it.
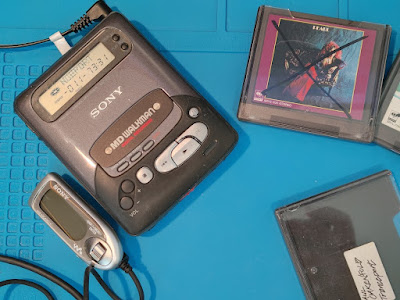
A friend sent me one of these to work on - it's in great shape overall, but it couldn't read discs, just displaying "DISC ERROR".
It seems like a fairly common issue so I decided to start with the usual light cleaning (lens, dust, debris) but there wasn't anything glaringly wrong nor out of place. The laser sled was moving fine, so it was probably time to get into the service menu and make some adjustments.
There's a good video online and 2 good references (listed below) and I've recorded a streamlined video here:
Entering the Service Menu
In a nutshell, you need to go in and adjust the laser settings from the service menu. What I didn't see online was that you will need to adjust both the CD (pressed MD) setting and the MO (recordable MD) setting.
Entering the Service Menu is technically easy, but... I didn't have the matching remote!
You just need to:
- activate the device's Hold switch
- hold Stop on the remote
- press Play and Stop on the body of the device
- and while holding all of those three, connect power or close the battery compartment (with a battery in there).
Sounds easy, but I had to find a way to do it without the remote, or find a remote that would work.
The Sony remotes use the same plug, so I tried a handful of different remotes, but they didn't work. I was about to give up and ask my friend to locate a remote for me while I put this project on the backburner... when I happened to see my MZ-NH1 on my desk with the glorious RM-MC40ELK! What are the odds of one of the newest remotes working on one of the olders MD recorders? Well, it worked!
I was able to activate the devices Hold switch, hold Stop on the remote, push Play+Stop on the device, connect power and enter the menu!
Once you're in, you'll navigate the main "tiers" by pushing + / - and then Play to enter sections and move up one at a time.
- For example, you start at 010.
- You can push + to get to 020, then Play a few times to get to 026 (which is where we need to go for MO disc adjustment).
- From there, you counter-intuitively use - to increase the setting's value and + to decrease the value.
- Once you get it where you want, press Pause to save.
- Disconnect power and do your testing
Settings to adjust for "CD" and MO discs
The first setting we care about is #26 - MO Bias Focus (026 MOFCBIAS) - the default was 7A and I tested values from 89 to 90 which worked for MO discs.
Since I had a "CD" (pressed MD) I decided to try it and I kept getting skipping and the occasional disc error. Looking in the service manual, I saw there was a corresponding CD Bias Focus value listed as #23.
If you also have "CD" MDs, you'll want to fix this. We'll want to navigate the service menu to 023 CD_FCBIAS and I just went from the default value of 80 to 88. I disconnected power and tested successfully!
Now this old relic was back in action, recording and playing discs!
Reference links:
Video here - https://www.minidisc.wiki/equipment/sony/portable/mz-r2
https://panuworld.net/hardware/mz-r2/mz-r2.htm
https://www.minidisc.org/r2_testmode.html